Building a Kick-Ass PVC Fig Rig That I Hope to Use Someday
So, what's it all about, then? Read on.
It's been just about a year since I built my Poor Man's Steadycam, and I've yet to put it to anything resembling real-life use. Mostly because I just don't shoot a lot of video, but also because it's pretty darn heavy to lug around, and it's too unwieldy to skate around with.
Still, I'm intrigued (some might say "obsessed") with techniques to stabilize digital video cameras, and this Saturday is the Baltimore Kinetic Sculpture Race, so I wanted something new.
Enter the Fig Rig
The professionally-built Fig Rig is basically a steering wheel, with the camera mounted in the middle. By gripping the sides of the wheel, you reduce camera shake. Pretty straightforward.
Now, I'd seen the plans on how build a PVC Fig Rig knockoff (here's another version on Instructables), though it seemed to be a bit large, considering I don't have a big little video camera (just the video mode on my point-and-shoot).
The Instructables' entries weren't particularly... instructable, but a quick search pulls up this Flickr set, complete with exploded view so you can see how it all fits together. Even better, a commenter had created his own even more compact version, The Mini DV handlebar, which was just what I was looking for. (Another person, Missile Mike, did a helpful blog entry with a complete parts list and instructions.)
The Build
Of course, I had plenty of 1/2" PVC left over from my Blackjack Table Halloween costume, so I just had to make a trip to Home Depot to pick up the other PVC fittings. I didn't take any build photos since you can just look at the Flickr set, though I guess I should have -- I had to improvise a bit -- the 90 degree joint with the threaded outlet (that serves as the camera mount) only came in 3/4", so I had to get some 3/4"-to-1/2" reducing bushings.
Also, when I finally fit it together, the pieces didn't quite... fit. (Good thing I did the dry fit before gluing everything together.) The 90 degree elbows didn't meet in the middle -- one side was higher than the other, and the ends didn't reach. I ended up changing the design a bit, flipping one around and using a 1/2" coupler to join the ends in the middle, but it's basically the same.
Additionally, for the 1/4" screw mount, I just used the mount from the Poor Man's Steadycam, since I'd done it before, I don't have a quick-release mount, and because my end caps were a little different. (I did have to go back a few times to find the right-sized bolts, though.)
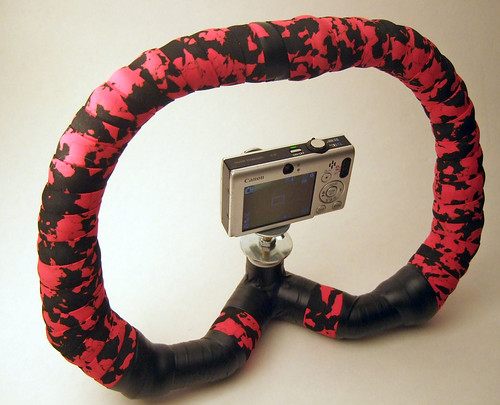
Anyway, here's the final product -- I wrapped it black electrical tape, then red marble-patterned cork bicycle handlebar grip tape, because it looks cool:
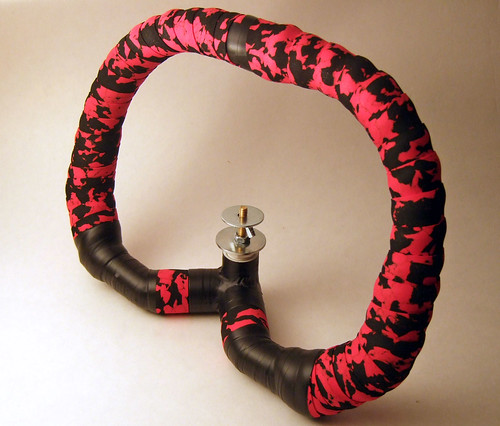
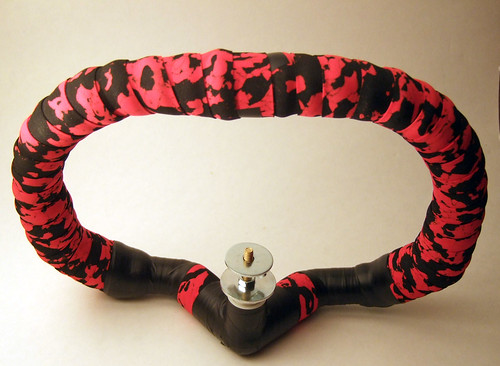
There are two rows of washers -- the bottom row is basically just a spare.
As you can see, it stands on its own:
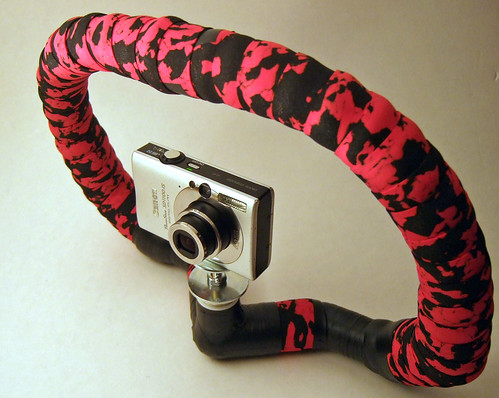
With camera mounted:
And gripped, in life-like fashion:
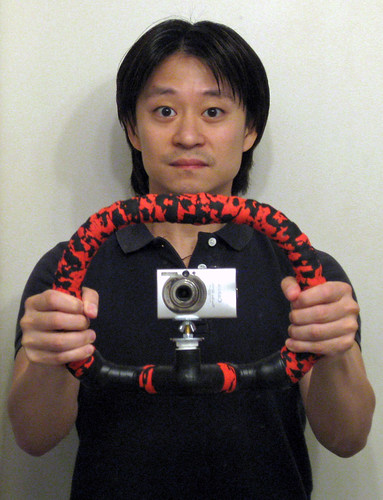
(Note that in a world of self-timers, this is the only acceptable justification for shooting a self-portrait in a bathroom mirror -- when you actually need to show the camera in the shot.)
It feels pretty solid -- sturdy enough to, say, beat a hobo to death with. It's actually one of the reasons I went exclusively with PVC couplings, instead of trying to use my heat gun to bend the PVC (you'd still need a few couplings, anyway) -- everything's short connectors butted end-to-end, so there's no flex in it.
Does It Work?
Um, that's hard to say. I was going to try to test it at Wednesday's kickball game, but we got rained out. Based on some limited indoor testing, I'd say it works better than hand-held, not as good as the Steadycam. We're gonna be cooking with gas when I try it out on Saturday -- hopefully, we won't get rained on too bad, and also hopefully, this scratch in my throat (which is most definitely notnotnot the Mexican/Swine/H1N1 flu, even though I spent a lot of time in Home Depots this week) won't put me on the sidelines.
Tags:
posted by Joelogon at
5/01/2009
Social Bookmark Link Creator
![]()
![]()
0 Comments:
Post a Comment
Links to this post:
Create a Link
<< Home